
iPhoneography Blog
Sunday, March 24, 2013
Wednesday, March 28, 2012
Photocruncher gig
I'm delighted to announce that i will be writing regular blog posts and reviews for photocruncher. This is a fantastic new mobile photography blog with some awesome contributors, i'm really pleased to be involved. You can check out my first post, a review of the iphone telephoto lens here.


Friday, February 10, 2012
Combo Apps Guest Spot: Moi!
Tina Rice's blog, "Combo Apps: iphoneography extreme editing" was the first iphoneography blog I followed, and she was one of my first instagram friends. Tina really opened my eyes to the possibilities of iphone photography and creative editing. Her blog is an essential source of info on apps and editing techniques for anyone who wants to learn just how far they can push those pixels. She has also been a great source of inspiration to me as an artist who wants to share her knowledge, promote iphoneography and help others enjoy creating on this medium as much as she does. While many try to keep their "secrets" for fear of others creating something even better than theirs, Tina tells the world how she did it, step by step and then celebrates others' successes in using the technique. That's a class act, in my books!
Anyhoo, for some reason, Tina asked me to write a "guest blog". Deeply flattered, i accepted. Here it is!

Anyhoo, for some reason, Tina asked me to write a "guest blog". Deeply flattered, i accepted. Here it is!

Thursday, January 26, 2012
Mad About Pixls Interview
So, two of my absolute favourite iphone artists, Cathy Ross and Maddy McCoy have started a blog and
for some crazy reason chose me as their first interview! It's pretty exciting! Here's the link
Mad About Pixls
(very plain photo of me made awesome by Maddy McCoy aka @the_real_mccoy)
Mad About Pixls

(very plain photo of me made awesome by Maddy McCoy aka @the_real_mccoy)
Wednesday, December 21, 2011
Layers part II - photoforge
Trying out something different this time. Let me know what you think - i appreciate your feedback (and be honest or else you might end up hearing my annoying voice for every blog in the future! To view my video blog, click HERE
Hope you like it!
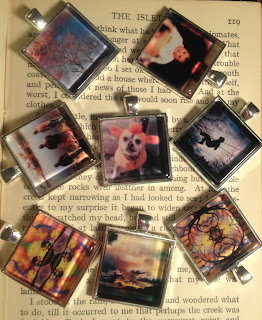
To order WEARAGRAMS, click HERE, because the best way to show off your instagram photos is to wear them!
Hope you like it!
To order WEARAGRAMS, click HERE, because the best way to show off your instagram photos is to wear them!
Monday, December 12, 2011
This Week's CreativeCrew Challenge Prize
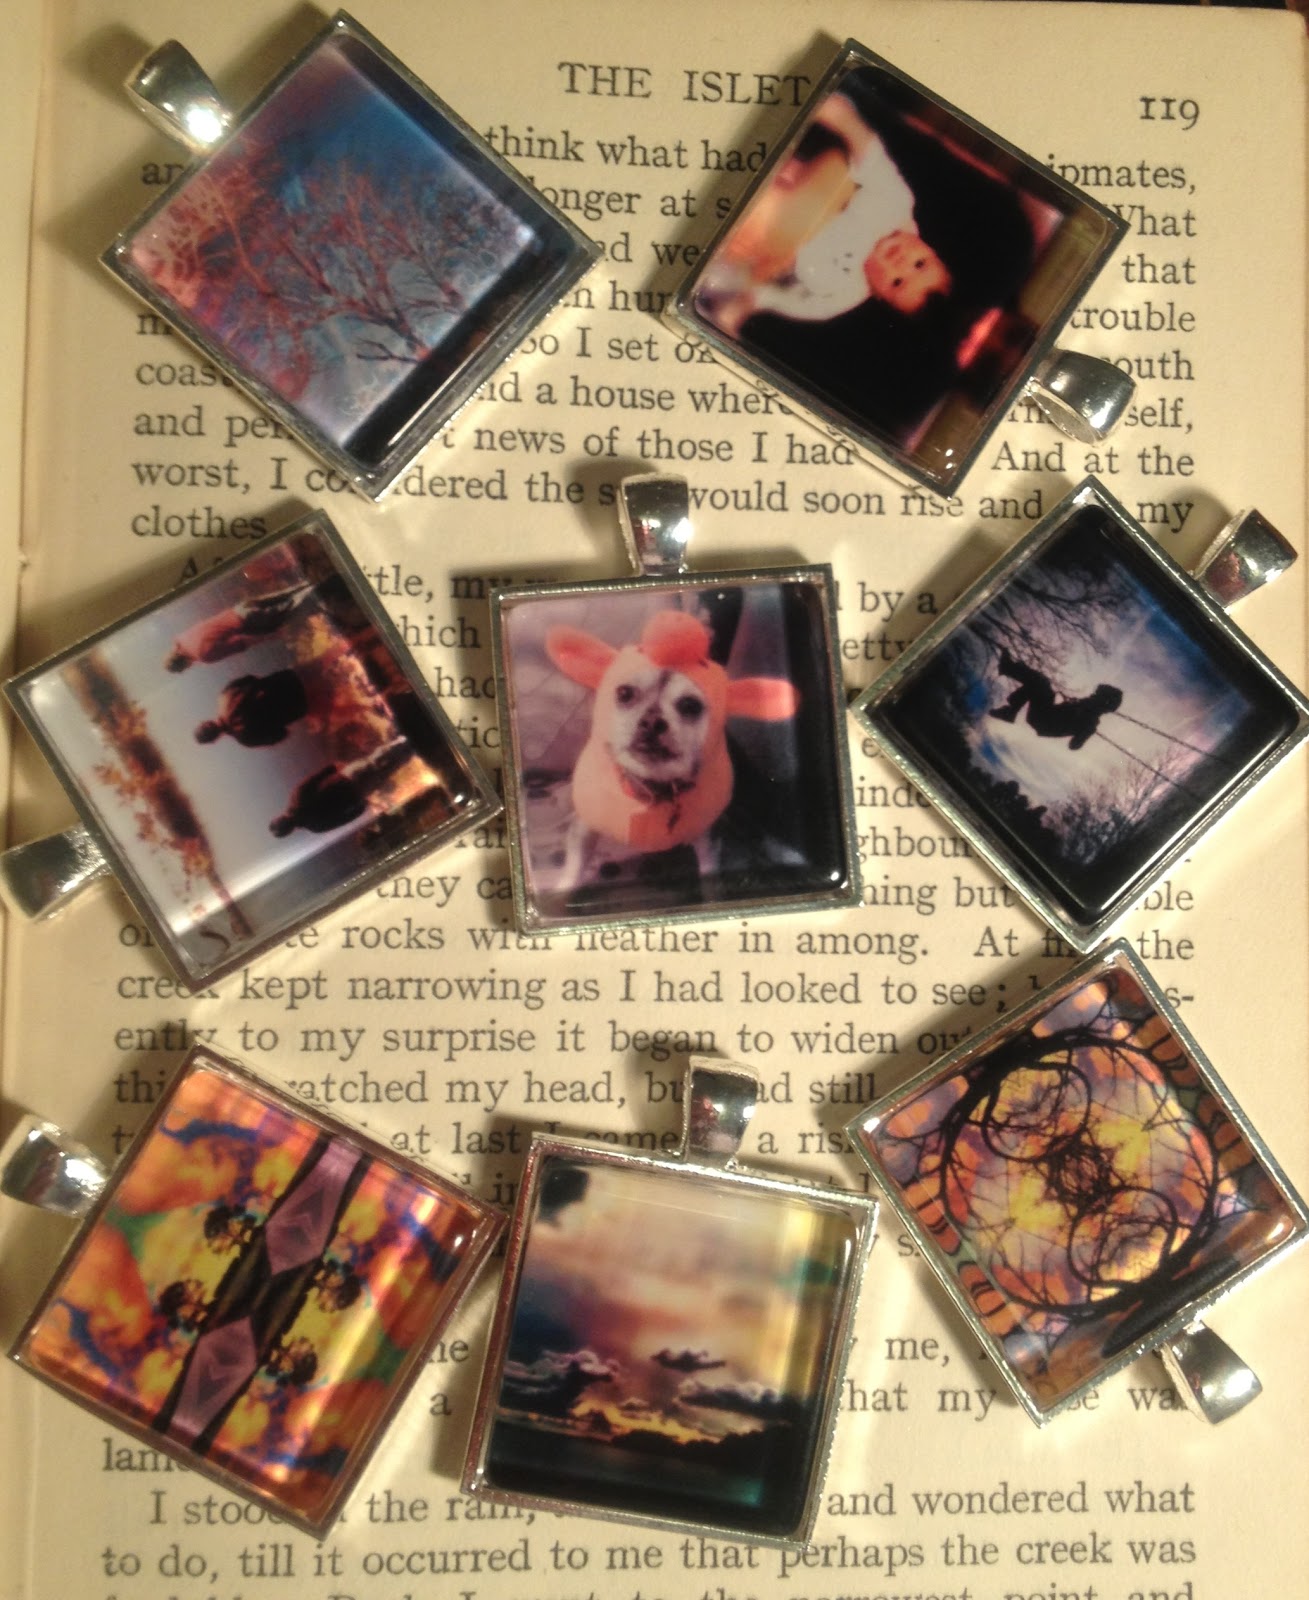
I'm pleased to offer one of my wearagrams pendants as this week's @creativecrew challenge prize (on instagram). The winner will recieve a beautiful silver pendant with the winning photo set under glass. Makes a great necklace, keychain or gift.

Wednesday, December 7, 2011
Layers part I - filterstorm
Anyone who follows me on instagram knows that i do a LOT of blending images and i get asked frequently how i do my edits. Filterstorm is one of my most used apps, but when i tell people that they usually say that they haven't been able to figure out how to use it! There are tutorial videos built in to the app which are very useful, but today i'm just going to tell you about the main feature that i love about filterstorm, which i call the "colour picker". i don't know what the correct name is, but this tool can save you a ton of time and trouble masking.
Here's the pic i'm going to start with:

Blah. Boring pic with boring sky. I cannot tolerate a boring sky, so i will switch to a cloudy sky, using filterstorm.

Once the photo is loaded into filterstorm, i will hit the button that looks like the sun and scroll down to the bottom and select double exposure.
 i select my second photo and it takes me to this screen, where i can adjust the size of the images in relation to each other. i just want them the same, so i will select "fit exposure to image". if i wanted them different sizes, i would adjust them the way i wanted and then hit the paint brush tool instead. First, though, I have to select the blend mode by hitting the slide bars above the paint brush.
 We'll talk about the different blending modes in another blog, for now we're just going to use normal, which means that the parts i select will simply be replaced by the second image with no blending or effects.
 Now you will select the plus sign inside the circle and the fun begins!

Any colour that you set the tool over will be replaced by the 2nd photo. Voila! here is the boring sky replaced with clouds.
 OR, if i wanted, i could replace the black branches...the possibilities are endless! (well, not in this photo - that's about it!)
 Now, i want to get rid of these rough edges, so i select the paintbrush tool. I prefer to have the softness all the way up, the opacity around 50% and the diameter depends what i am doing.

I paint away the rough bits and i'm done! Well, not done for me, but it COULD be. You can use this tool for all sorts of selective adjustments - to blur all parts of the pic that are one colour, to change one colour to another, to selectively brighten, darken, adjust contrast or white balance...it's very handy!
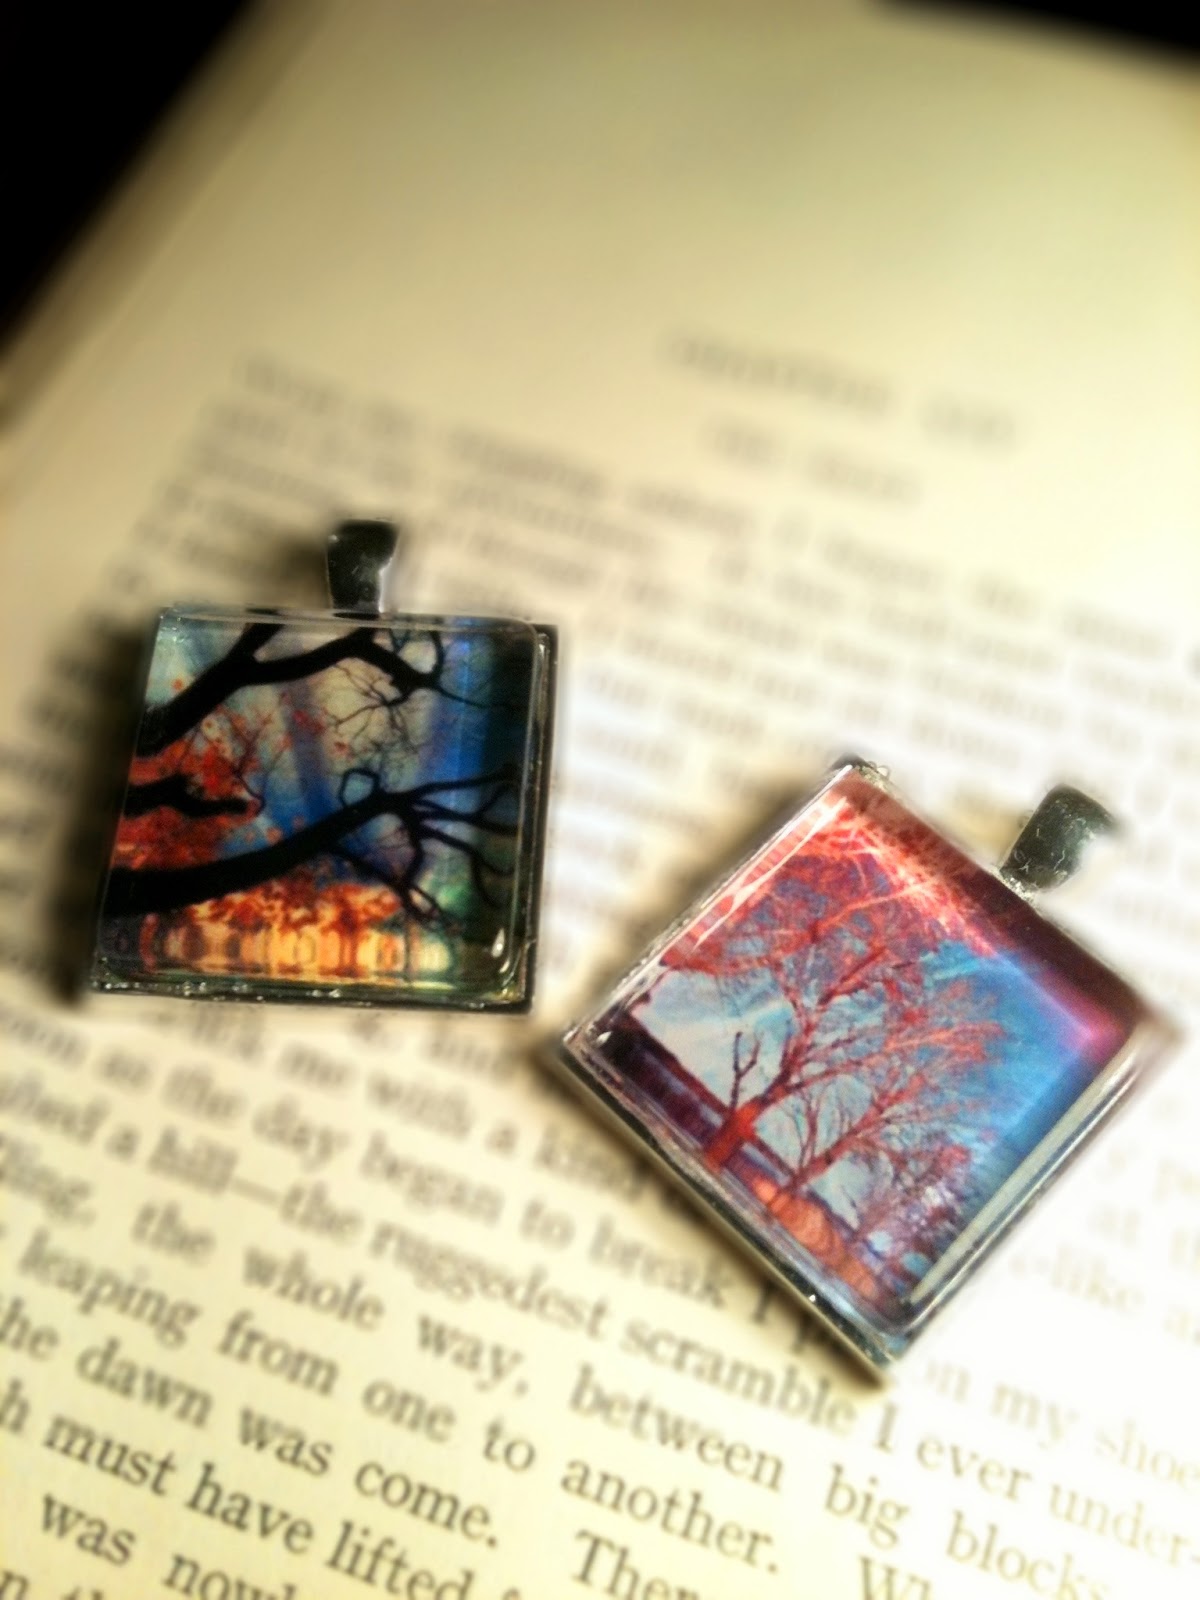
Hope this helps! Thanks for sticking with it to the end - here's a 10% discount code for wearagrams on my etsy store. Your own instagram photos in a pendant. You can wear them as a necklace, use them as a keyfob, pimp your pooch's collar...it's up to you! The code is: FSBLOG10
 wearagrams by 80sgirlart on etsy
Here's the pic i'm going to start with:

Blah. Boring pic with boring sky. I cannot tolerate a boring sky, so i will switch to a cloudy sky, using filterstorm.

Once the photo is loaded into filterstorm, i will hit the button that looks like the sun and scroll down to the bottom and select double exposure.


Any colour that you set the tool over will be replaced by the 2nd photo. Voila! here is the boring sky replaced with clouds.


I paint away the rough bits and i'm done! Well, not done for me, but it COULD be. You can use this tool for all sorts of selective adjustments - to blur all parts of the pic that are one colour, to change one colour to another, to selectively brighten, darken, adjust contrast or white balance...it's very handy!
Hope this helps! Thanks for sticking with it to the end - here's a 10% discount code for wearagrams on my etsy store. Your own instagram photos in a pendant. You can wear them as a necklace, use them as a keyfob, pimp your pooch's collar...it's up to you! The code is: FSBLOG10

Subscribe to:
Posts (Atom)